Upgrade or Clean Install (Custom)When you start installing Windows 7, you will have two options: Install a clean Windows 7 or Upgrade your existing OS to Windows 7.Upgrade is only an active option if your existing Windows version is available for upgrade to Windows 7. If Upgrade option is available and you choose Upgrade option, you can keep your existing files, settings, and installed programs for the new Windows 7 OS. If the Upgrade option is not available, there is no other option rather than installing a clean Windows 7 or Custom installation. Custom installation or a clean installation means installing a new Windows 7 operating system. In this case you will have to choose a partition to setup Win7 and all data on this partition will be deleted. This means data files, programs and settings on the chosen disk partition will be deleted. It is important that you should take a back up of important files and settings. Other wise you can not restore them after installing Windows 7. All programs should be reinstalled in clean install cases after the Windows 7 setup is completed. If you point to an other partition than the current OS exists, you can build a multiboot system. One important note on Windows 7 Custom installation is if there exists a previous version of Windows on the partition you targeted for the custom install and you don't manually format or delete the partition, all user files are kept in a private folder named Windows.old folder on the partition. After the Win7 installation is completed, you can copy and paste from Windows.old folder and use your files again without a loss. For Windows XP users, you can not upgrade to Windows 7 directly from Windows XP to Windows 7. Windows XP users can benefit from Windows Easy Transfer (WET) to keep their files and settings. Then they have to perform a custom install of Windows 7, and later transfer back files and settings using WET (Windows Easy Transfer) to new Windows 7 computer. In fact Windows Easy Transfer grants an easy and alternate method of backing up personal data and settings in order to restore back later. Before you start installing Windows 7Before you begin starting Windows 7 installation read the following check list in order to prevent data loss and misunderstandings.1) First download and run the Windows 7 Upgrade Advisor to get a report about the capabilities of your system and known compability issues. 1) Decide which edition of Windows 7 you want to install, a 32-bit edition of Windows 7 or a 64-bit edition of Windows 7. If you have decided to install 64-bit Windows 7 edition, be sure that your computer has a 64-bit processor. 2) Then back up your files to a different data storage. This storage can be external hard disks, a CD or a DVD, a USB flash drive, or even a network folder in your environment. 3) If you think of upgrading Windows Vista to Windows 7, connect to internet in order to get the latest updates for your computer. X64 Windows 7 RTM Ultimate Edition InstallationPlace the Windows 7 Ultimate X64 RTM Setup DVD into the disk drive. The Windows 7 installation will automatically start and display the Windows 7 Install Windows 7 screen.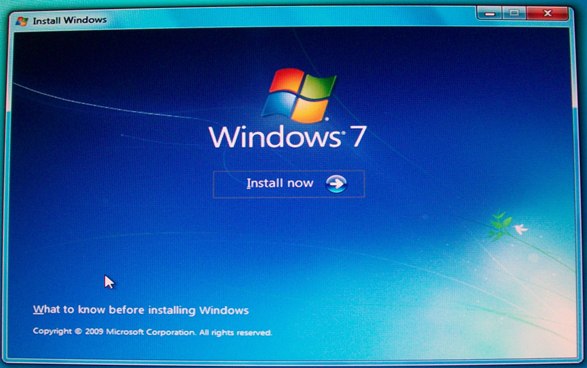 You can begin Windows 7 setup by clicking the "Install now" button. Windows 7 Setup is starting... Windows will start installation by copying the temporary setup support files.  If you are using Microsoft Windows Vista and want to upgrade your system to Windows 7 from Vista, you can consider to get the latest updates for a more convenient upgrade. But I you prefer a clean install rather than upgrade Vista to Windows 7, you might select not to continue updating your present Vista OS. You can directly continue with the Windows 7 setup. So select the first option for a Windows 7 upgrade from Vista, and select the second uption for clean install. If you make a clean install and select a different partition for Windows 7 other than the partition where Vista resides, you can have Windows 7 and Windows Vista running side by side. 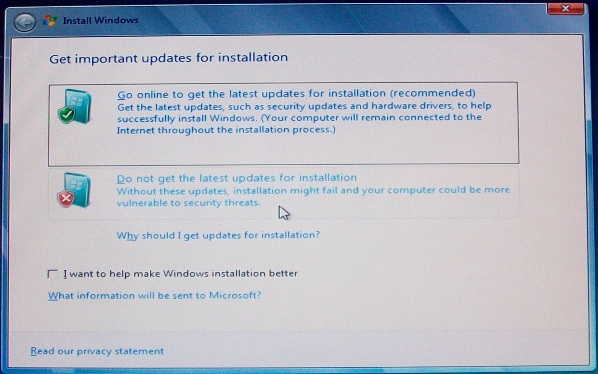 The checkbox at the bottom of the screen "I want to help make Windows installation better" is for enabling the Windows system to send Windows 7 experiences and logs, or possible error details to Microsoft to be used for a better installation experience in future. If you have questions about the security of your private information by selecting this option you can click the link "What information will be sent to Microsoft?" Now accept the Microsoft Software Licence Terms (the EULA) otherwise you can not continue installing Windows 7 with a disabled Next button. 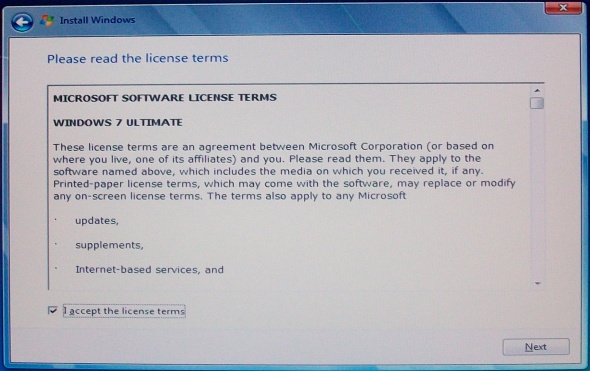 In this screen of the installation wizard, users can select to Upgrade or proceed with a new copy of Windows 7 by selecting the Custom (advanced) option. If you choose Upgrade to Windows 7, you will upgrade to a newer version of Windows (Windows 7 RTM) and will keep your existing files, settings and programs. For upgrade Windows 7 supports from Windows Vista with SP2. It is recommended to backup your files in case of an error not to lose your valuable information. If you choose Custom (advanced) setup, this will install a new Windows 7 operating system on your computer. In this case, your files, settings and programs are not kept and you have to install your programs again after the installation of Windows 7 is completed and migrate your program settings manually. You should backup your files manually to a different partition where you want to install the operating system on or store your files on an external storage disk. 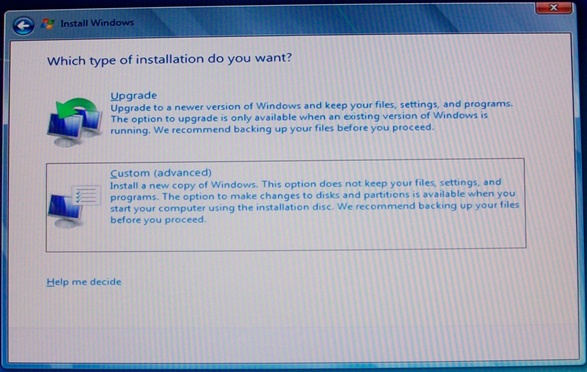 In this setup step, the Windows 7 installation wizard will request from you the disk partition you want to install Windows 7 on. 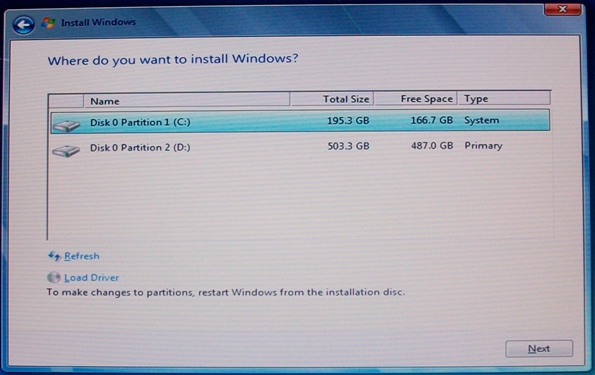 If you have previously installed Windows system on your computer like Windows XP, Windows Vista or a non-RTM version of Windows 7 and if you have selected the partition that previous OS is installed on, Setup Wizard will display a warning similar to shown below. The message is warning the Windows installer user about : The partition you selected might contain files from a previous Windows installation. If it does, these files and folders will me moved to a folder named Windows.old. You will be able to access the information in Windows.old, but you will not be able to use previous version of Windows. In fact, Windows.old folder is a perfect life saver if you have forgotten to backup your personal files, settings, and even driver files, etc. All files will be stored in a folder named Windows.old by the Windows 7 installer. Later some time passed after the installation and you convinced that there is nothing missing, then you can remove the Windows.old folder easily. 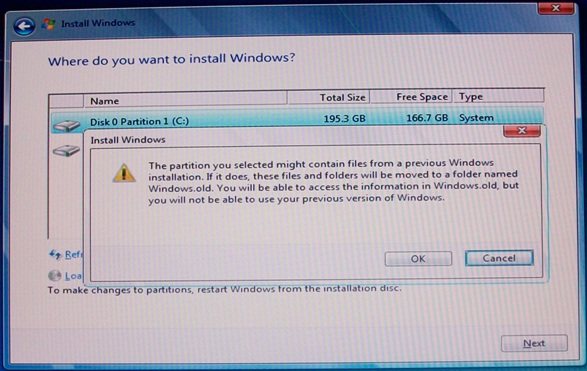 Windows 7 installation is again starting after the first group of user input for Windows configuration is completed. Setup will continue now with copying Windows files. This step of installing Windows 7 will take some time. And during the steps shown on this screen the computer will reboot a few times. I guess twice or three times. The user installing Windows 7 is not required to interact during reboots and all these steps. 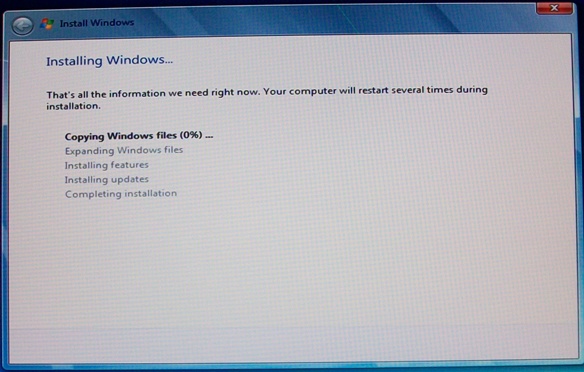 After some time windows needs to restart to continue installing Windows 7.  It will shut down.  Then continues installing Windows 7 Ultimate edition.  When the copying of Windows files is completed the next step expanding Windows files step will take place. You are not required to follow for user interrection during these steps. 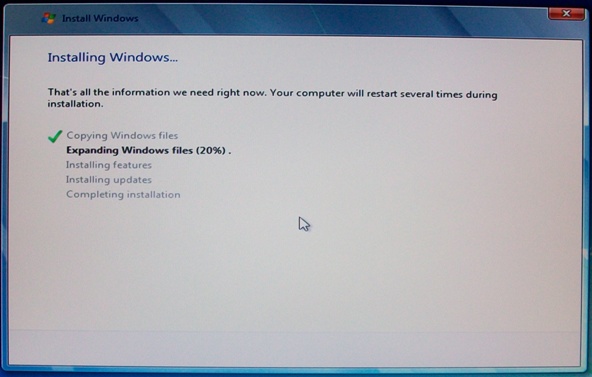 Windows setup will update the registry settings. 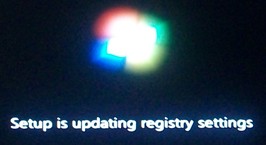 Windows setup will continue by starting services  We are near to the end of the Windows installation. 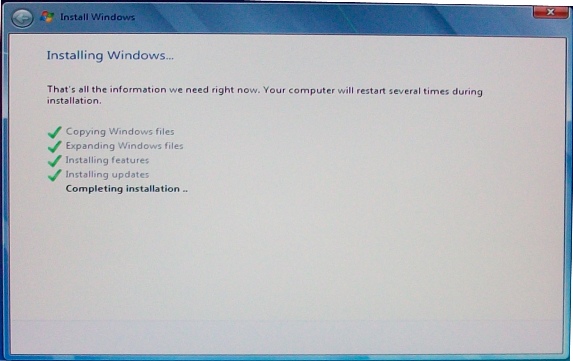    At this windows installation wizard step, you are required after some time for user input. Before the RTM version you would select the Windows 7 language from the available list of languages. For the released RTM edition I downloaded from MSDN there is only one language in my setup, English. So your first interaction might be selecting the country or region from the available list of countries and regions. After you have selected the time and currency format, and identifying the keyboard or input method, continue installing Windows 7 with the Next button on the wizard screen. By the way, default values are United States, English (United States) and US keyboard layout as shown in the below screenshot. 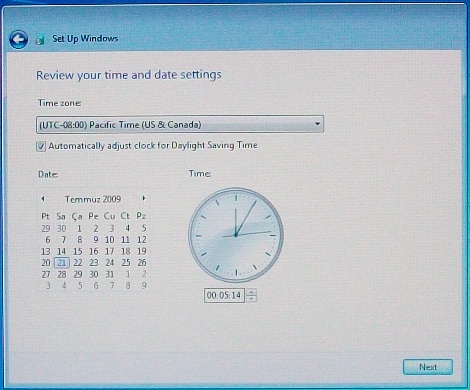 The following Windows 7 installation screen is identifying the administrator account user name for your Windows 7 computer and identifying the new name of your computer within a network. The following Windows 7 installation screen is identifying the administrator account user name for your Windows 7 computer and identifying the new name of your computer within a network.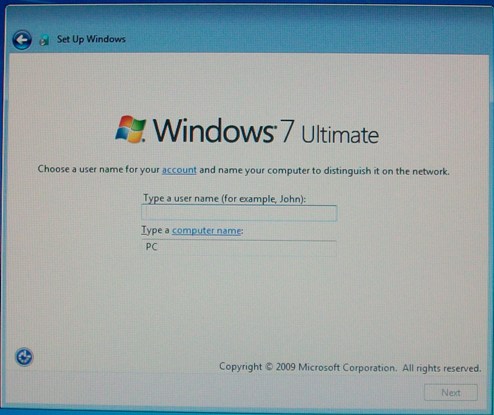 In this screen, Windows 7 setup will ask you set the administrator password for the user account you have created in the previous step. You'll be asked for a password hint as well. 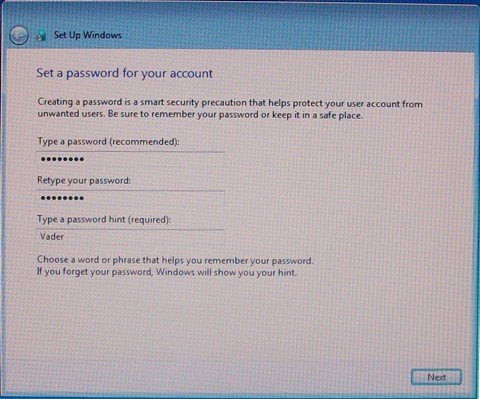 The Windows 7 setup wizard will ask the installer now the Windows product key. You can notice that the Next button which is enabling the continuity within the wizard is not disabled. So you can still continue installing Microsofy Windows 7 RTM without entering a product key. Installing Win7 without the requirement of a Windows 7 product key enables Windows user evaluate and test the new Windows 7 Ultimate edition for a period of time. 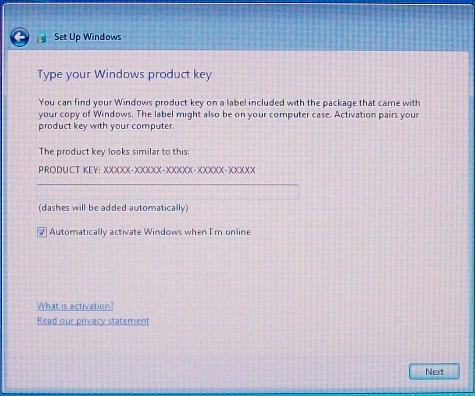 In the above Set Up Windows screen you can also enable "Automatically activate Windows when I'm online." option. This option will complete the Windows 7 activation without your manual work. On this Windows7 installation screen, you can configure Microsoft Windows Updates method. It is the recommended settings to install the Windows updates automatically. But you can choose the "Ask me later" option to make the decision later or select the "Install important updates only" option and continue to install Windows 7 Ultimate edition. 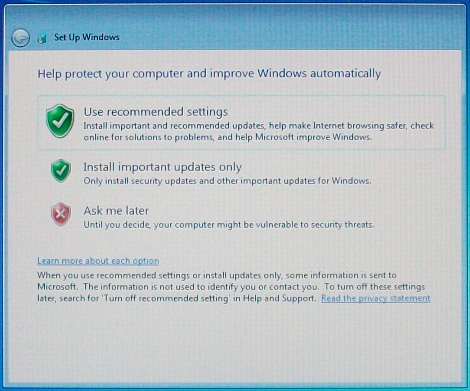 We are now at the last user input screens where we will choose the time zone and set the current date time settings. The networking options for the computer's current location is not now asked by the Windows 7 installation wizard. This was one of the setup screens in previous versions of Win7. The setup will inform the user about the current process it is running. Setup will continue after restarting your computer.  Setup is preparing your computer first use.  Preparing your desktop...  At last! Windows 7 users now ready to use, evaluate and test the new Windows 7 - Windows 7 Ultimate RTM version. 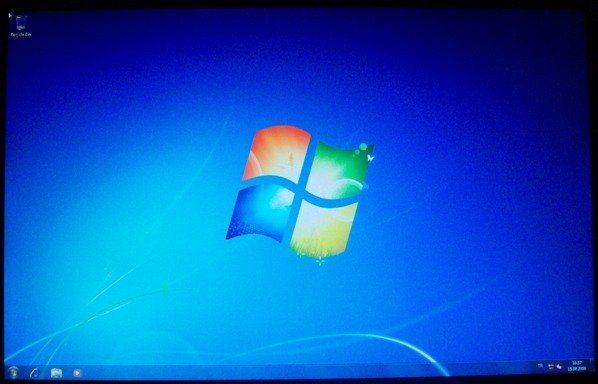 | ||
Total Pageviews
WINDOWS 7 INSTALLATION
Subscribe to:
Comments (Atom)